DIY guide
Make your own paracord keychains
With a wrapped middle section · Step by step
Make your own colourful keychains from paracord! It is an easy and fun DIY project for personal keychains for your keys or bag, or as small handmade gifts. With just a few materials and a simple wrapping technique you get a great-looking keychain in exactly the colours you like best – solid colours, bright combinations or paracord with reflective details. A relaxing creative project for beginners and experienced makers alike.
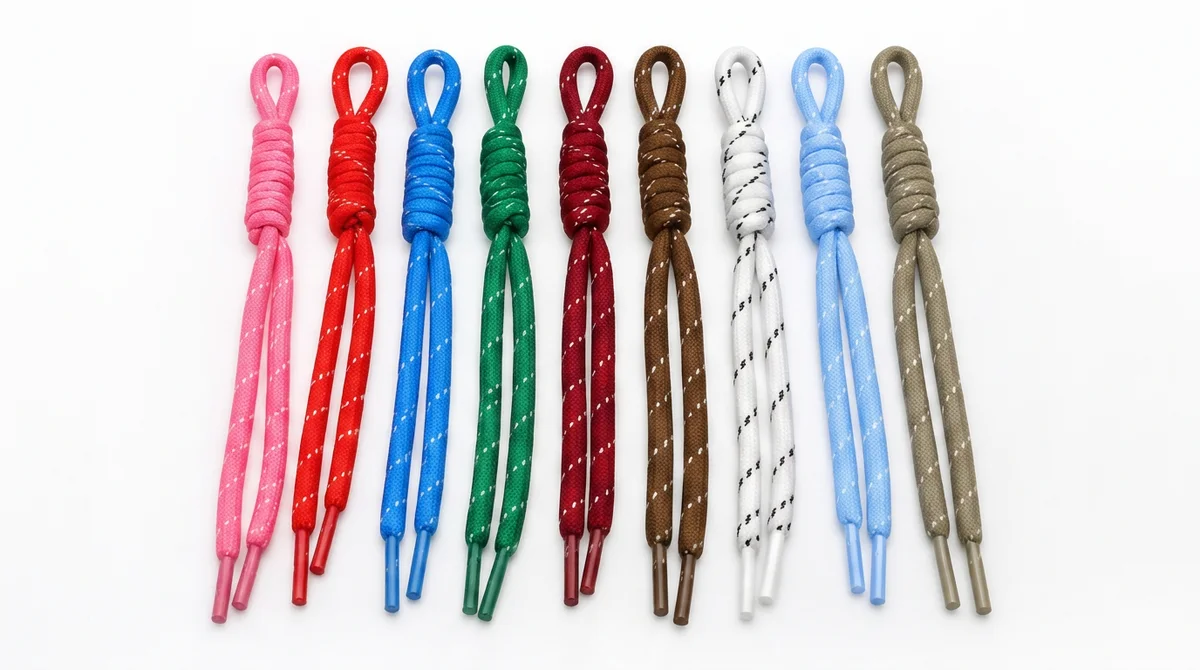
You will need
- Approx. 1–1.5 m paracord (4 mm)
- Scissors
- Lighter
- Optional: carabiner or key ring
- Optional: charms and pendants
- Optional: end caps (aglets)
How to wrap the middle section
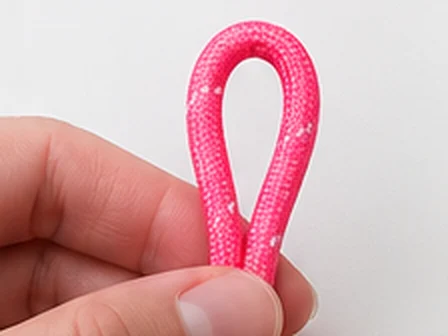
01 Make a loop
Fold the paracord in half to form a loop at the top. Hold it together with your fingers.
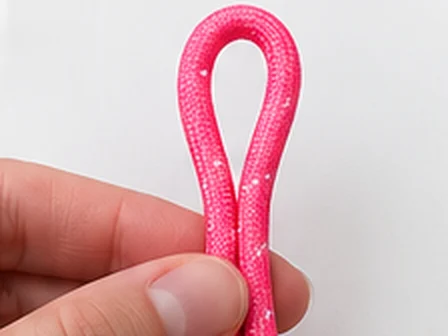
02 Prepare the strands
Make sure both ends are the same length. Give the loop the size you want.
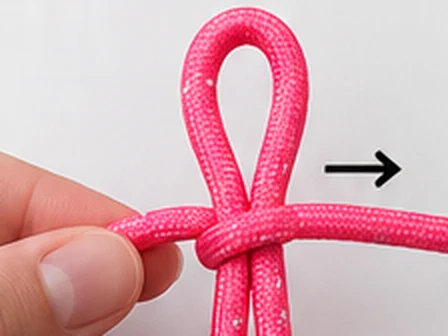
03 Start wrapping
Take one end and lay it around both strands just below the loop. Pass the end behind, towards the right.
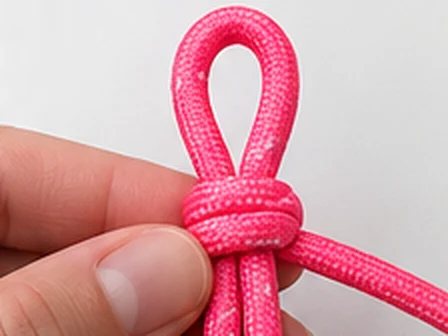
04 Complete the first round
Pull the paracord around both strands and tighten so the wrap sits snugly.
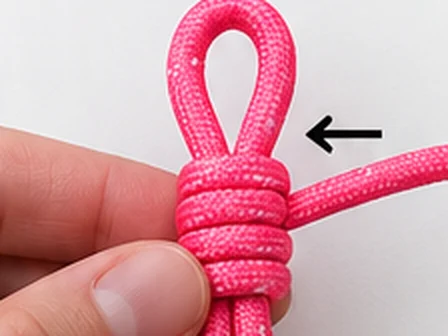
05 Keep wrapping
Keep wrapping around both strands. Keep the wraps tight and neat.
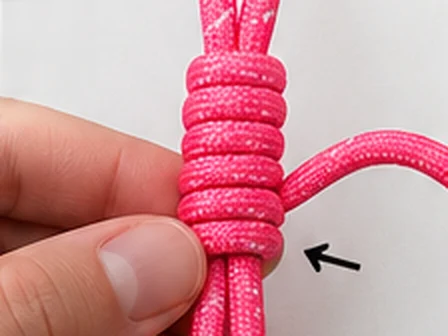
06 Add more rounds
Continue until the wrap is the length you want – typically 8–12 rounds.
Lock the wrap and finish
Trim, melt and neaten the ends
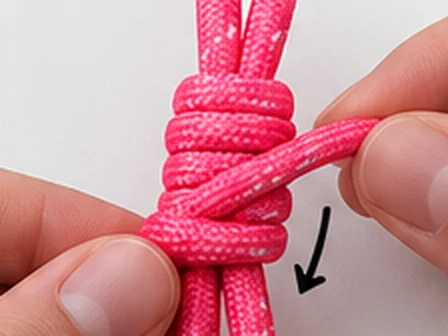
07 Finish the wrap
Pass the end through the last round as shown, so it is locked in place.
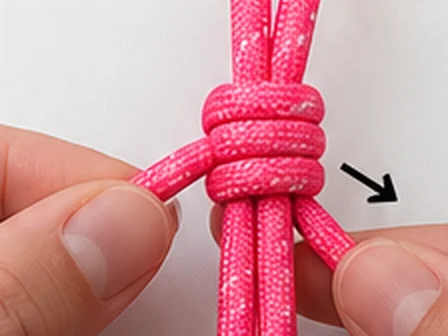
08 Tighten and adjust
Pull the end through and tighten the wrap so it holds firmly and looks neat.
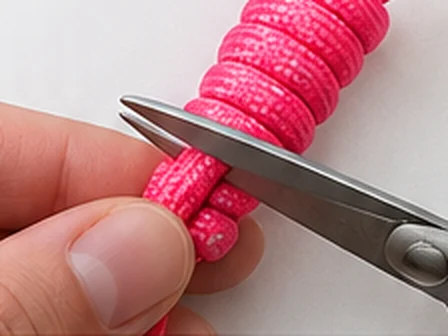
09 Trim the excess
Cut off the excess paracord, leaving about 2–3 mm.
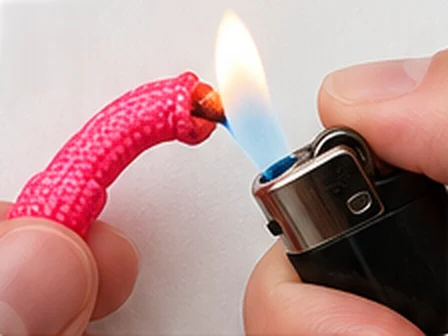
10 Melt the end
Hold the end close to a lighter so it fuses. If you like, press it in gently with a metal object while it is still warm.
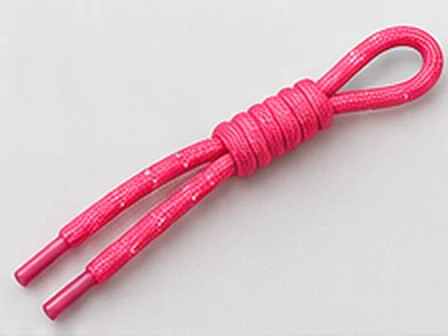
11 Finished keychain
Your keychain is ready to use! Trim the two loose ends to the length you want.
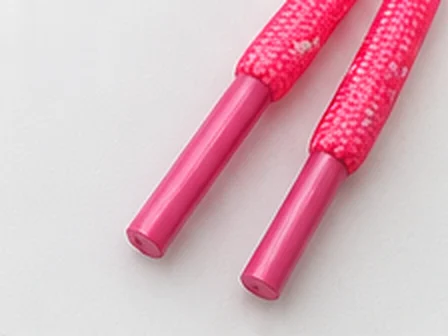
12 Tip: Neat ends
Leave the ends as they are, trim them shorter or add end caps for an extra polished finish.
Make it your own
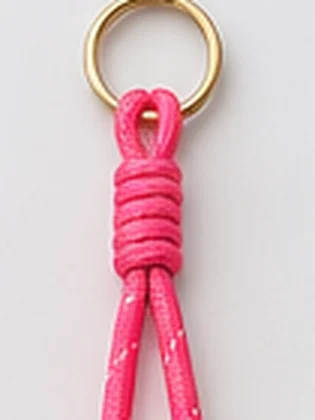
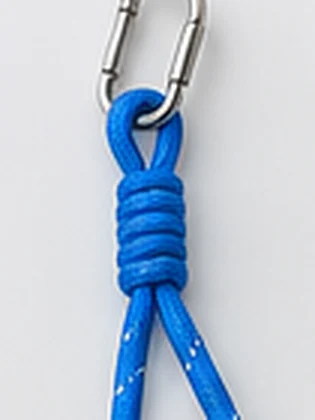
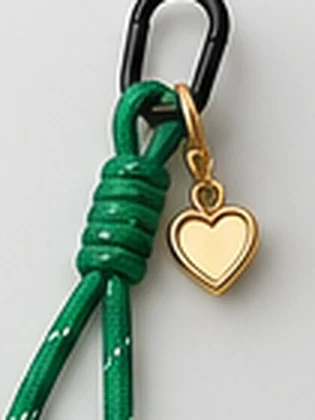
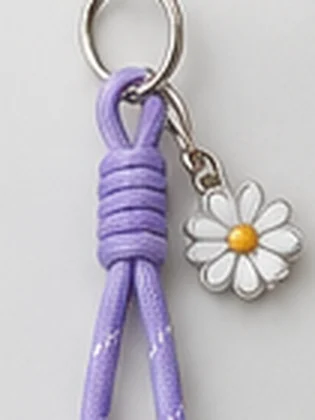
Attach the loop to a key ring or a carabiner, or decorate it with charms and pendants. Mix colours so every keychain is unique – you can also make it in reflective paracord.
Tip: The more rounds you wrap, the longer the middle section.
Create your own design
The best thing about handmade keychains is that you decide the look. Experiment with the length of the wrap and the loose ends too, so every keychain is one of a kind.
Pastel colours
Make a delicate keychain in pink, light blue or other soft shades.
Classic colours
Choose black, brown, dark green or beige for a simple look.
Bold colours
Give your keys a colourful look with red, blue or green paracord.
Reflective paracord
Use paracord with reflective details for a different and practical design.
Personal touches
Add letter pendants, hearts or other charms.
Good advice
- Use approx. 1–1.5 metres of 4 mm paracord.
- The more rounds, the longer the wrapped middle section.
- Tighten the wraps as you go so they sit neatly and snugly.
- Carefully melt the ends with a lighter so they don't fray.
- Finish the ends with end caps, metal tips or small knots.
- Combine with a carabiner, a key ring or charms.
An easy DIY project and a personal gift idea
Handmade keychains are both decorative and practical. Use them as key rings, as bag charms or as small personal gifts for friends and family. The project needs no special equipment and is perfect for a creative afternoon.
Find the materials at Tomato
At Tomato you will find paracord in lots of colours, plus key rings, carabiners, charms and other supplies for your creative projects. Shop online or visit our shop in Gentofte, where you can see the colours and find inspiration for your next DIY project.
Questions and answers
How much paracord do I need for a keychain?
Allow approx. 1–1.5 metres of 4 mm paracord. For a long wrapped middle or long loose ends, choose the longer length.
How many rounds should the wrap have?
Typically 8–12 rounds. The more rounds you wrap, the longer the middle section.
How do I stop the ends from fraying?
Paracord is made of nylon. Carefully melt the ends with a lighter, or fit end caps on them.